
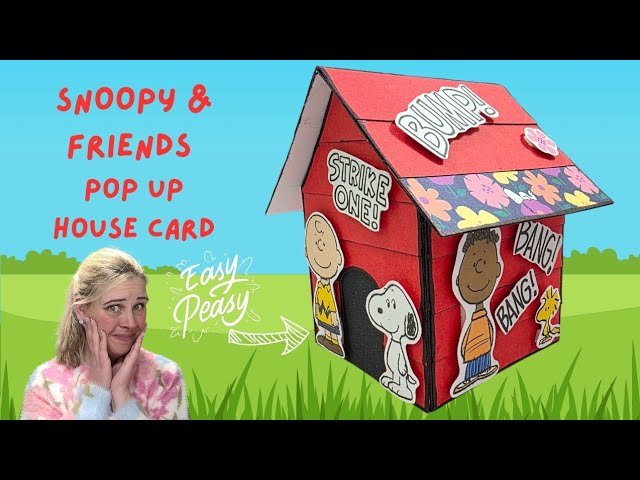
Have you ever wanted to create something fun and unique with your own hands? Making a Snoopy dog house out of cardboard is a simple and enjoyable project you can do at home.
Imagine having a cute, handmade Snoopy house that adds charm to your space or becomes the perfect play spot for your kids. In this guide, you’ll find easy steps and tips that anyone can follow, even if you’re not an expert.
Ready to bring your creativity to life and impress your friends with this adorable craft? Keep reading, and let’s get started!
Credit: www.etsy.com
Materials Needed
Gathering the right materials is the first step to creating a Snoopy dog house out of cardboard. The quality and type of materials you choose will make your project easier and your final product more durable. Let’s look closely at what you’ll need to bring your creative idea to life.
Cardboard Boxes
Choose sturdy cardboard boxes that can support the structure without bending or collapsing. Look for boxes with large flat surfaces to cut out the walls and roof of the dog house. If you want a smooth finish, avoid boxes with too many creases or tape marks.
Cutting Tools
A sharp utility knife or box cutter works best for clean and precise cuts. Scissors can help with smaller adjustments but might struggle with thick cardboard. Always be careful and cut on a safe surface to avoid accidents.
Measuring And Marking Supplies
Use a ruler or measuring tape to get the dimensions right. A pencil or marker will help you outline the shapes before cutting. Accurate measurements prevent wasted materials and keep the house symmetrical.
Adhesives
Strong glue like hot glue or tacky craft glue will hold the pieces together securely. Tape can be a quick fix but might not last long. I found that hot glue gives a sturdy bond and speeds up the building process.
Decorative Materials
Paints, markers, or colored paper add the finishing touches and bring Snoopy’s dog house to life. Consider using white paint for the walls and red for the roof to match the classic look. Don’t forget to add some black details for authenticity.
Optional Extras
If you want to add more details, gather items like cotton balls for clouds or small fabric pieces for a door flap. These extras make your dog house stand out and show off your creativity. What unique touches will you add to make it truly yours?
Choosing The Right Cardboard
Choosing the right cardboard is the first important step in making a Snoopy dog house. The cardboard must be strong enough to hold its shape. It should also be easy to cut and fold. Picking the right type helps your project last longer and look better.
Cardboard comes in many thicknesses and qualities. Some cardboard is thin and bends easily. Other types are thick and sturdy. For a dog house, thicker cardboard works best. It can support the structure without collapsing.
Types Of Cardboard Suitable For Crafting
- Corrugated cardboard: Has three layers, strong and durable.
- Single-wall cardboard: Thinner, easier to cut but less sturdy.
- Double-wall cardboard: Extra thick, very strong but harder to work with.
How To Check Cardboard Quality
- Look for smooth surfaces without tears or dents.
- Press gently to test firmness and resistance.
- Choose cardboard that does not bend under light pressure.
Size And Shape Considerations
- Select large pieces to avoid too many joins.
- Flat sheets are easier to cut and assemble.
- Ensure the cardboard fits your design dimensions.
Measuring And Cutting Pieces
Measuring and cutting the cardboard pieces accurately is the foundation of building your Snoopy dog house. If your pieces aren’t precise, the entire structure may wobble or look off. Taking your time here ensures the final product fits together perfectly and looks just like Snoopy’s iconic home.
Choosing The Right Tools For Measuring
Using a reliable ruler or tape measure is essential. A metal ruler works best because it won’t bend while you’re marking lines. Don’t forget a pencil with a fine tip for clear, precise lines that won’t smudge easily.
Marking Each Piece Carefully
Lay your cardboard flat on a sturdy surface before marking. Measure twice to avoid mistakes and mark all sides clearly. If you want a guide, sketch the outline of each part of the dog house before cutting.
Cutting Techniques For Clean Edges
Use a sharp utility knife or box cutter to cut along your lines. Cut slowly and steadily to avoid jagged edges. A cutting mat underneath protects your surface and helps you make smooth cuts.
Double Checking Dimensions Before Assembly
After cutting, compare the pieces to your original measurements again. Check if the edges line up when you put pieces together without gluing. This step saves you from having to trim or fix parts later.

Credit: macstencils.com
Assembling The Base Structure
Building the base structure of your Snoopy dog house is where your cardboard creation starts to take real shape. This part sets the foundation for everything else, so making it sturdy and precise is key. You’ll want to focus on cutting, folding, and securing the cardboard carefully to ensure your dog house stands strong and looks just right.
Choosing The Right Cardboard Pieces
Not all cardboard is created equal. Look for thick, corrugated cardboard as it holds up better and supports weight without bending easily. Avoid thin or flimsy pieces that might collapse once assembled.
Measure the dimensions of the dog house base you want to build and pick cardboard sheets slightly larger to allow for folding and securing edges. This extra margin will help you make clean joints and corners.
Cutting And Preparing The Pieces
Use a sharp utility knife or box cutter to get smooth, straight edges. Rough or jagged cuts can weaken the structure and make assembly frustrating.
Mark your cutting lines clearly with a pencil and ruler before slicing. Take your time—precision now saves headaches later.
Connecting The Base Panels
Once your pieces are cut, it’s time to join them. You can use strong tape or hot glue, depending on what you have. Tape works well for a flexible hold, while hot glue offers a firmer bond.
Align the edges carefully and press firmly. Check that the base sits flat and doesn’t wobble. If it does, adjust your joins until it feels solid.
Reinforcing The Corners
Corners take the most stress, so reinforce them with extra strips of cardboard or tape. This added support prevents the base from collapsing when weight is applied.
Try bending a small strip of cardboard into an L shape and glue it inside each corner. It’s a simple trick that makes a big difference in stability.
Testing The Base Stability
Before moving on, place your base on a flat surface and apply gentle pressure on different spots. Does it hold steady without creaking or bending? If not, identify weak areas and add more reinforcement.
Think about how you would want your dog to feel inside—safe and secure. A sturdy base is the first step toward creating that cozy space.
Creating The Roof
Creating the roof for your Snoopy dog house out of cardboard is where the project really starts to take shape. This part gives the house its iconic look and protects the inside space, so it’s worth spending time to get it right. You’ll want the roof to be sturdy but lightweight, and easy to attach to the base.
Not all cardboard is the same. Look for a piece that’s thick and strong enough to hold its shape when cut into the roof’s slanted panels. Double-walled cardboard works best because it won’t bend or sag easily.
Make sure the cardboard is large enough to cover both sides of the roof with some overlap. You’ll cut two rectangular pieces to form the classic pitched roof shape.
Cutting And Shaping The Roof Panels
Measure the width and length of your dog house’s top carefully. Then, add a small extra margin so the roof panels extend beyond the walls a little. This gives it a finished look and helps keep the inside dry if you add a waterproof layer later.
Use a sharp craft knife or box cutter for clean edges. Cut two identical rectangles, then trim the bottom edges if you want a slight overhang.
Assembling And Attaching The Roof
To form the roof’s peak, you’ll join the two panels along one long edge. Use strong glue or tape on the inside seam to hold them together securely.
Once the peak is stable, attach the roof to the top of the dog house walls. You can use hot glue or double-sided tape for a neat finish. Press firmly and hold in place until the adhesive sets.
Have you thought about adding a little chimney or decorative details? Small cardboard cutouts glued on can bring your Snoopy dog house to life.
Adding Snoopy Details
Adding Snoopy details brings the cardboard dog house to life. These small touches make it look like Snoopy’s real home. Painting and attaching features create a fun, recognizable design. This part lets creativity shine and makes the project unique.
Painting The House
Start with a white base coat on the cardboard house. Use acrylic paint for smooth, even coverage. Let the paint dry fully before adding more colors.
Paint the roof red to match Snoopy’s classic dog house. Use a small brush to keep lines neat. Add black outlines around edges to create depth.
For extra detail, paint a small black dog door on the front. This adds a realistic touch and completes the look.
Attaching Snoopy Features
Create Snoopy’s face using paper or foam pieces. Cut out black ears and eyes, plus a round nose. Glue these pieces to the front of the house carefully.
Add a small wooden or cardboard bone near the door for charm. Use glue or tape to secure it firmly.
Consider drawing Snoopy’s collar with a red marker or paint. This subtle detail adds character and fun.
Use strong glue to attach all features. Press pieces down for a few seconds to ensure they stick well.
Finishing Touches
Adding the finishing touches to your Snoopy dog house made from cardboard is where your creation truly comes to life. These final steps not only make the structure durable but also bring charm and personality to the project. Paying attention to detail here ensures your Snoopy house stands out and lasts longer.
Reinforcing The Structure
Cardboard can be surprisingly sturdy if you reinforce it correctly. Use extra cardboard strips to strengthen the corners and edges where the house might bend or tear. Apply strong glue or tape along these reinforcements to hold everything firmly in place.
Think about the roof—if it’s flat, adding a couple of internal supports will prevent it from sagging over time. You can also use lightweight wooden sticks or skewers inside to keep the shape rigid without adding much weight. These simple reinforcements make your dog house much more durable, especially if it’s going to be used frequently or moved around.
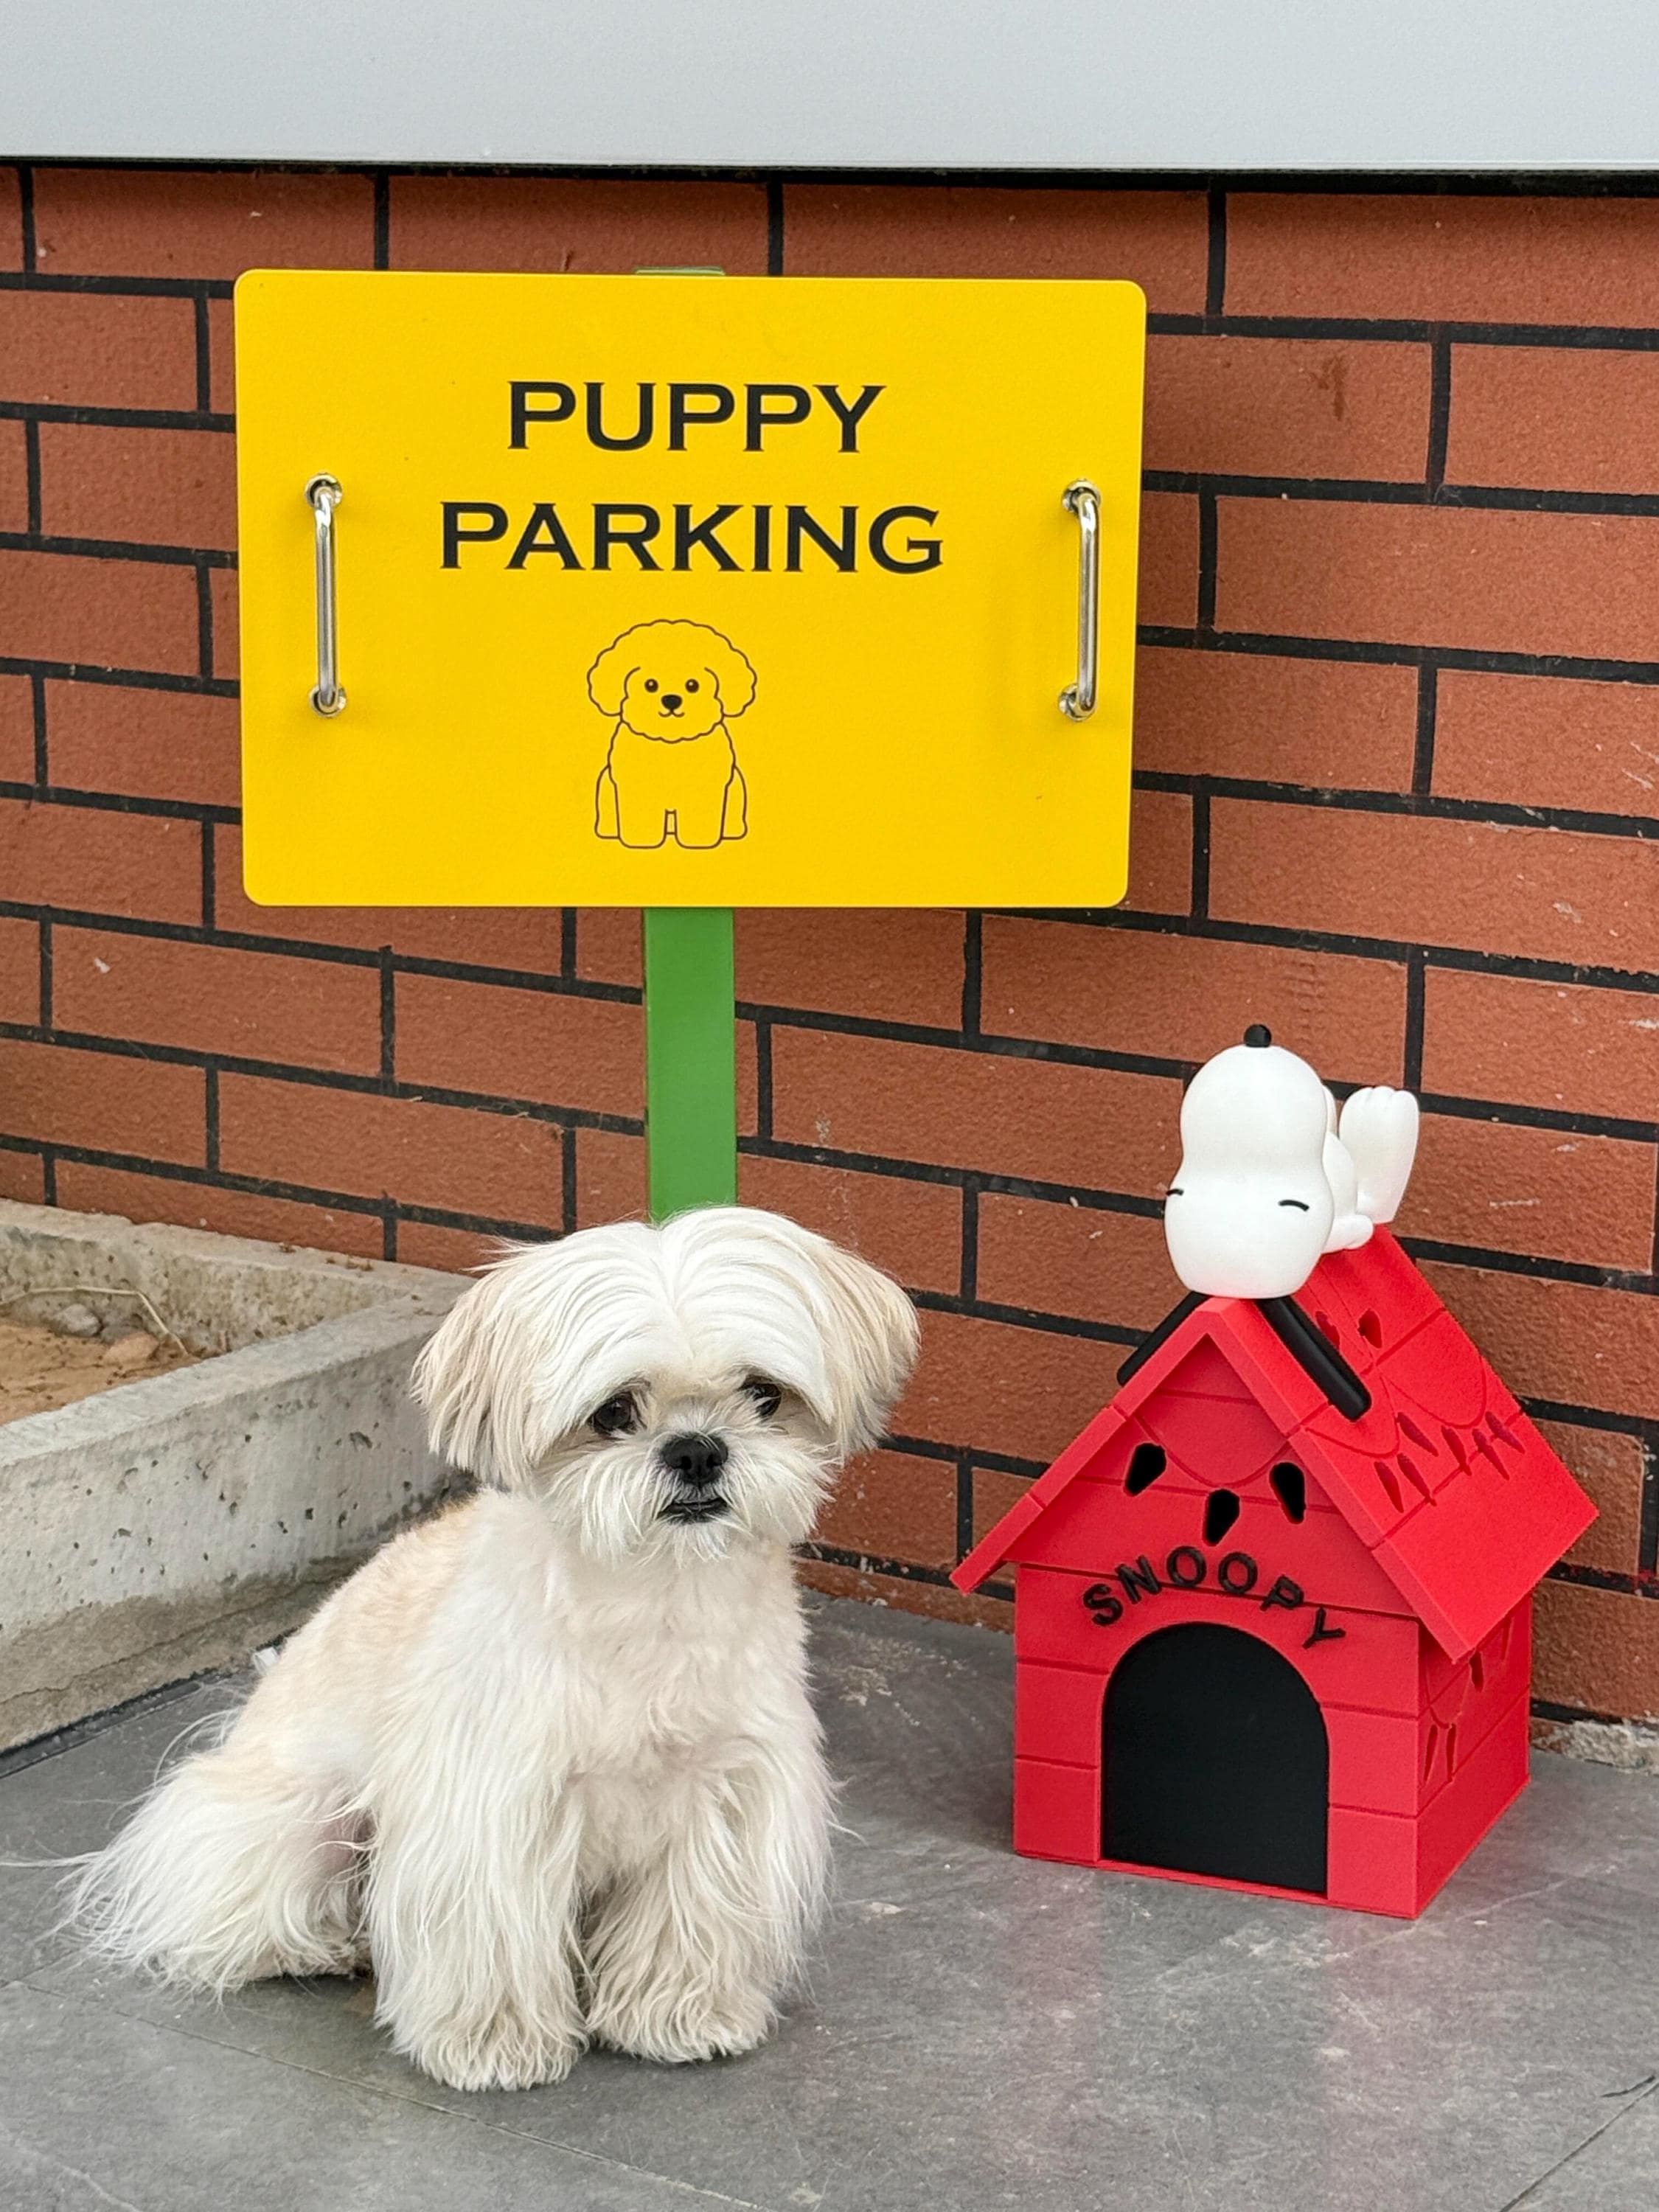
Decorating The Surroundings
Once the structure is solid, it’s time to make the environment around the Snoopy house inviting and fun. You might want to create a little yard using green felt or colored paper to mimic grass. Adding small cardboard trees or flowers can make the scene more playful and complete.
Consider adding a tiny sign with Snoopy’s name or paw prints leading to the house entrance. These details make the project feel personalized and engaging. Have you thought about how these small creative touches can transform a simple cardboard model into a delightful centerpiece?

Credit: www.bluebrixx.com
Tips For Durability
Building a Snoopy dog house out of cardboard is a fun project, but durability is key if you want it to last. Cardboard can be fragile, especially when exposed to moisture or rough handling. Paying attention to a few durability tips will help your creation stay strong and keep looking great over time.
Choose High-quality Cardboard
Thick, corrugated cardboard works best because it offers more strength and support. Single-layer cardboard might be easy to cut but won't hold up well under weight or pressure. Look for sturdy boxes or sheets designed for shipping to ensure your dog house can handle some wear and tear.
Reinforce Key Areas
Focus on strengthening the corners and base, as these spots bear the most stress. You can add extra layers of cardboard glued together or use tape on the inside for added support. Reinforcement helps prevent bending or collapsing, especially if your dog is excited or playful.
Seal Against Moisture
Cardboard and water don’t mix well. To protect your dog house from dampness, cover it with waterproof materials like clear packing tape or a thin layer of varnish. Even a coat of acrylic paint can help repel moisture and keep your structure intact longer.
Use Strong Adhesives
Regular glue might not hold cardboard pieces firmly together. Try hot glue or strong craft adhesives made for paper and cardboard. These create a more durable bond that resists pulling apart, which is crucial for maintaining the shape of your Snoopy dog house.
Consider Adding A Protective Roof
A cardboard roof alone won’t shield your dog house from rain or sunlight. Try adding a lightweight plastic or fabric cover on top to protect the structure below. This extra layer reduces wear and helps maintain the house’s overall durability.
What small changes can you make to extend the life of your cardboard project? Sometimes a little extra care in these areas makes all the difference between a short-lived craft and a lasting creation.
Frequently Asked Questions
What Materials Are Needed For A Snoopy Dog House?
You need cardboard, scissors, glue, paint, and markers. These basic materials help you create a sturdy, colorful Snoopy dog house. Cardboard acts as the main structure, while paint and markers add details. Use glue for strong assembly and scissors for precise cuts.
How Do I Make The Dog House Structure Stable?
Use thick cardboard for the base and walls. Reinforce corners with extra strips and strong glue. Let glue dry fully before adding decorations. Proper cutting and assembly ensure stability. Avoid using thin or flimsy cardboard to maintain durability.
Can Kids Safely Build A Snoopy Dog House?
Yes, with adult supervision. Kids can safely cut, paint, and assemble cardboard. Adults should handle sharp tools like scissors or box cutters. This project encourages creativity and fine motor skills in children while being fun and educational.
How Long Does It Take To Make The Dog House?
It typically takes 2 to 4 hours. Time depends on skill level and drying time for glue and paint. Planning and prepping materials can speed up the process. Rushing may affect the quality and stability of the house.
Conclusion
Building a Snoopy dog house from cardboard is simple and fun. With a few materials, you can create a charming decoration. It’s a great project for kids and adults alike. Not only does it spark creativity, but it also recycles old cardboard.
Your effort will result in a delightful piece for your home or garden. Plus, it’s a wonderful way to bring the iconic Snoopy to life. Enjoy the process and the final creation. Remember, each step brings you closer to a cute Snoopy dog house.
Let your imagination guide you.