
If your dog recently had surgery or a skin injury, you know how important it is to keep them from licking or scratching the area. A cone collar can be a lifesaver, but buying one can sometimes be expensive or uncomfortable for your pet.
What if you could make a cone collar yourself that fits perfectly and keeps your furry friend safe? In this guide, you’ll learn simple, step-by-step instructions to create a comfortable and effective cone collar right at home. Keep reading, and you’ll discover how easy it is to protect your dog while saving time and money.

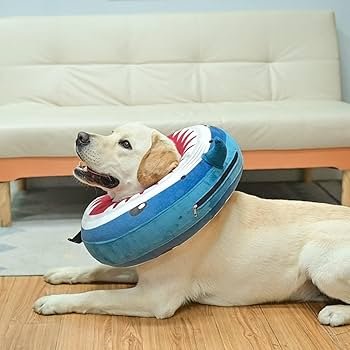
Credit: www.amazon.ca
Materials Needed
Gathering the right materials is the first step in making a cone collar for your dog. Using the best supplies ensures comfort and safety. Prepare everything before you start to avoid interruptions. This section covers the main items you need.
Choosing The Right Fabric
Select a fabric that is sturdy but soft. Nylon and canvas are strong choices. Cotton works well for lighter cones. Avoid materials that irritate your dog’s skin. Look for fabrics that are easy to clean and dry fast.
Essential Tools
- Measuring tape to fit your dog’s neck size
- Scissors that cut fabric cleanly
- Needle and thread or a sewing machine
- Velcro strips or snap buttons for fastening
- Marker or chalk to mark fabric
Optional Accessories
- Soft padding to line the collar edges
- Plastic or cardboard inserts for extra stiffness
- Decorative fabric or trim for style
- Elastic bands to improve fit
Measuring Your Dog
Measuring your dog accurately is key to making a cone collar that fits well. A proper fit keeps your dog comfortable and stops them from reaching wounds. Take your time to get exact measurements before you start crafting.
Neck Size
Use a soft measuring tape for the neck size. Wrap it gently around the base of your dog’s neck. The tape should be snug but not tight. Leave enough room to fit two fingers between the tape and the neck. This space ensures your dog can breathe and move easily.
Length Of The Collar
The collar length must cover from your dog’s neck to just past their nose. Measure from the neck base forward along the side of the face. Stop at the tip of the nose. This length helps prevent your dog from reaching areas they shouldn’t lick or bite. Add an inch or two for comfort and movement.
Cutting The Fabric
Cutting the fabric is a crucial step when making a cone collar for your dog. Precision here ensures the collar fits well and stays comfortable. Taking your time to measure and cut accurately will save you from frustrating adjustments later.
Creating A Template
Start by making a paper template of the cone shape. Use a large sheet of paper or lightweight cardboard and draw a sector of a circle with the desired radius. This radius should match the length you want the collar to extend from your dog's neck.
Cut out the sector and test it by wrapping it around your dog's neck. Does it cover the nose without restricting breathing? Adjust the size if needed before moving on. This step helps you avoid wasting fabric on an ill-fitting collar.
Marking And Cutting
Place your template on the fabric, preferably a sturdy, washable material like nylon or canvas. Use tailor’s chalk or a fabric marker to trace around the template carefully. Adding a small seam allowance (about 1/2 inch) around the edges will make sewing easier.
Cut slowly and precisely along the marked lines. Straight, clean edges make assembly smoother and the final product more durable. Have you noticed how a small mistake in cutting can lead to a collar that twists or gaps awkwardly on your dog?
Keep your scissors sharp and steady. If your fabric frays, consider using pinking shears or sealing the edges with fabric glue. These little details make a big difference in the collar’s lifespan and your dog's comfort.
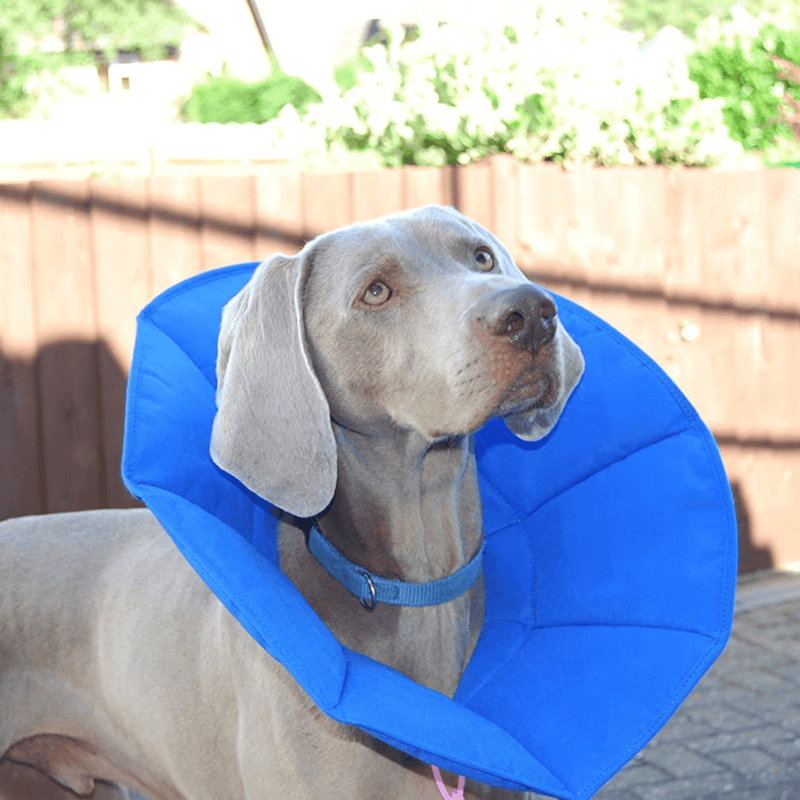
Credit: www.moolafit.com
Assembling The Collar
Assembling the cone collar is an important part of the process. This step shapes the collar to fit your dog comfortably. It also ensures the collar stays secure during use. Follow each section carefully for best results.
Folding And Shaping
Start by folding the material into a cone shape. Bring the edges together to form a wide opening for your dog's neck. Shape the cone so it tapers toward the end. The wider part should stop your dog from reaching wounds or stitches.
Check the size by gently placing the collar around your dog's neck. Adjust the fold so it fits snugly but not too tight. The collar should allow some movement without slipping off.
Securing Edges
Hold the edges in place with clips or pins. This keeps the cone shape steady while you attach fasteners. Smooth out any wrinkles or uneven parts. The edges must be even for secure attachment.
Trim any excess material along the edges if needed. Neat edges prevent discomfort and improve the collar’s look. Make sure the collar’s tip is rounded to avoid sharp points.
Adding Fasteners
Choose fasteners that are easy to use and strong enough. Velcro strips, snaps, or buttons work well for this purpose. Attach the fasteners along the overlapping edges to hold the collar closed.
Place the fasteners evenly to avoid gaps in the collar. Test the collar by fastening and unfastening it a few times. The fasteners should stay secure but allow quick removal if needed.
Customizing For Comfort
Customizing the cone collar for your dog’s comfort is essential. A well-fitted collar helps your pet stay calm and reduces stress. Small changes can make a big difference in how your dog adjusts to wearing the cone. Focus on soft materials and the right size for the best experience.
Padding Options
Adding padding to the cone collar prevents rubbing and chafing. Use soft foam or fabric strips around the edges. Felt or fleece work well for gentle cushioning. Wrap padding securely to avoid slipping during use.
- Foam strips provide firm but soft protection.
- Fleece fabric adds a cozy layer.
- Felt is easy to cut and shape.
Check the padding often to keep it clean and dry. Replace worn padding to maintain comfort.
Adjusting Fit
Ensure the cone collar fits snugly but not too tight. Measure your dog’s neck before making the collar. Leave enough room for two fingers between the collar and the neck. Use adjustable straps or Velcro for easy resizing.
- Test fit by watching your dog’s movements.
- Adjust straps to avoid slipping or pinching.
- Secure ends to prevent the collar from opening.
A well-adjusted cone collar supports healing without limiting comfort.
Testing The Collar
Testing the cone collar is a key part of the process. It ensures the collar fits well and keeps your dog safe. A proper test helps avoid discomfort or injury. Watch how your dog reacts to the collar. Check if it limits movement without causing stress. This step confirms the collar works as intended.
Ensuring Safety
Start by checking the collar’s fit. It should be snug but not tight. Make sure your dog can breathe and drink easily. Look for any sharp edges or loose parts. These can cause injuries or irritation. Adjust the collar if it slips off or feels too tight. The collar must protect your dog without restricting natural movement.
Monitoring Your Dog
Observe your dog closely for the first hour. Watch how it moves and rests. Notice if your dog tries to remove the collar. Check for signs of discomfort or stress. Let your dog eat and drink with the collar on. If your dog struggles, adjust or redesign the collar. Continuous monitoring helps ensure your dog stays safe and comfortable.
Tips For Maintenance
Maintaining your dog’s cone collar keeps it safe and comfortable. Regular care helps the collar last longer. Clean and store the collar properly to avoid damage or discomfort. Here are some simple tips for maintenance.
Cleaning Instructions
Use mild soap and warm water to clean the collar. Avoid harsh chemicals that may irritate your dog’s skin. Gently scrub the surface with a soft cloth or sponge. Rinse thoroughly to remove all soap residue. Dry the collar completely before putting it back on your dog. Clean the collar daily if your dog wears it for many hours.
Storage Suggestions
Store the cone collar in a cool, dry place. Avoid direct sunlight to prevent material damage. Keep it away from sharp objects that might cause scratches or tears. Place the collar flat or hang it to keep its shape. Store the collar separately from other pet items to avoid dirt or germs.

Credit: propelbikes.com
Frequently Asked Questions
What Materials Are Needed To Make A Dog Cone Collar?
You need flexible plastic, scissors, measuring tape, and Velcro or string. These materials ensure the collar is safe and adjustable for your dog.
How Do I Measure My Dog For A Cone Collar?
Measure the neck circumference and the distance from neck to nose tip. This ensures the cone fits comfortably and prevents your dog from reaching wounds.
Can I Make A Cone Collar Without Plastic?
Yes, you can use sturdy cardboard or fabric stiffened with interfacing. These alternatives are safe and eco-friendly but may not last as long.
How Long Should A Homemade Cone Collar Last?
A well-made cone collar can last several weeks to months. Regularly check for wear and replace it if damaged to protect your dog effectively.
Conclusion
Crafting a cone collar for your dog is simple and practical. It ensures your pet heals without interference. Plus, making it at home saves money and time. Your dog stays comfortable and protected. Materials are easily available and affordable. You can adjust the size for the perfect fit.
Always monitor your pet's comfort. Check regularly for any signs of distress. A well-fitted collar keeps your dog safe. It also gives you peace of mind. Enjoy DIY projects and your pet's happiness. Your dog deserves care and attention. Happy crafting!