
Are you ready to give your dog a safe, cozy place to call their own? Building a dog kennel out of wood is a smart and rewarding project you can tackle yourself.
Not only will you save money, but you’ll also create a sturdy shelter that fits perfectly with your style and space. Imagine your dog happily relaxing in a kennel you built with your own hands. Keep reading, and I’ll guide you step-by-step to make this dream a reality—no special skills needed!
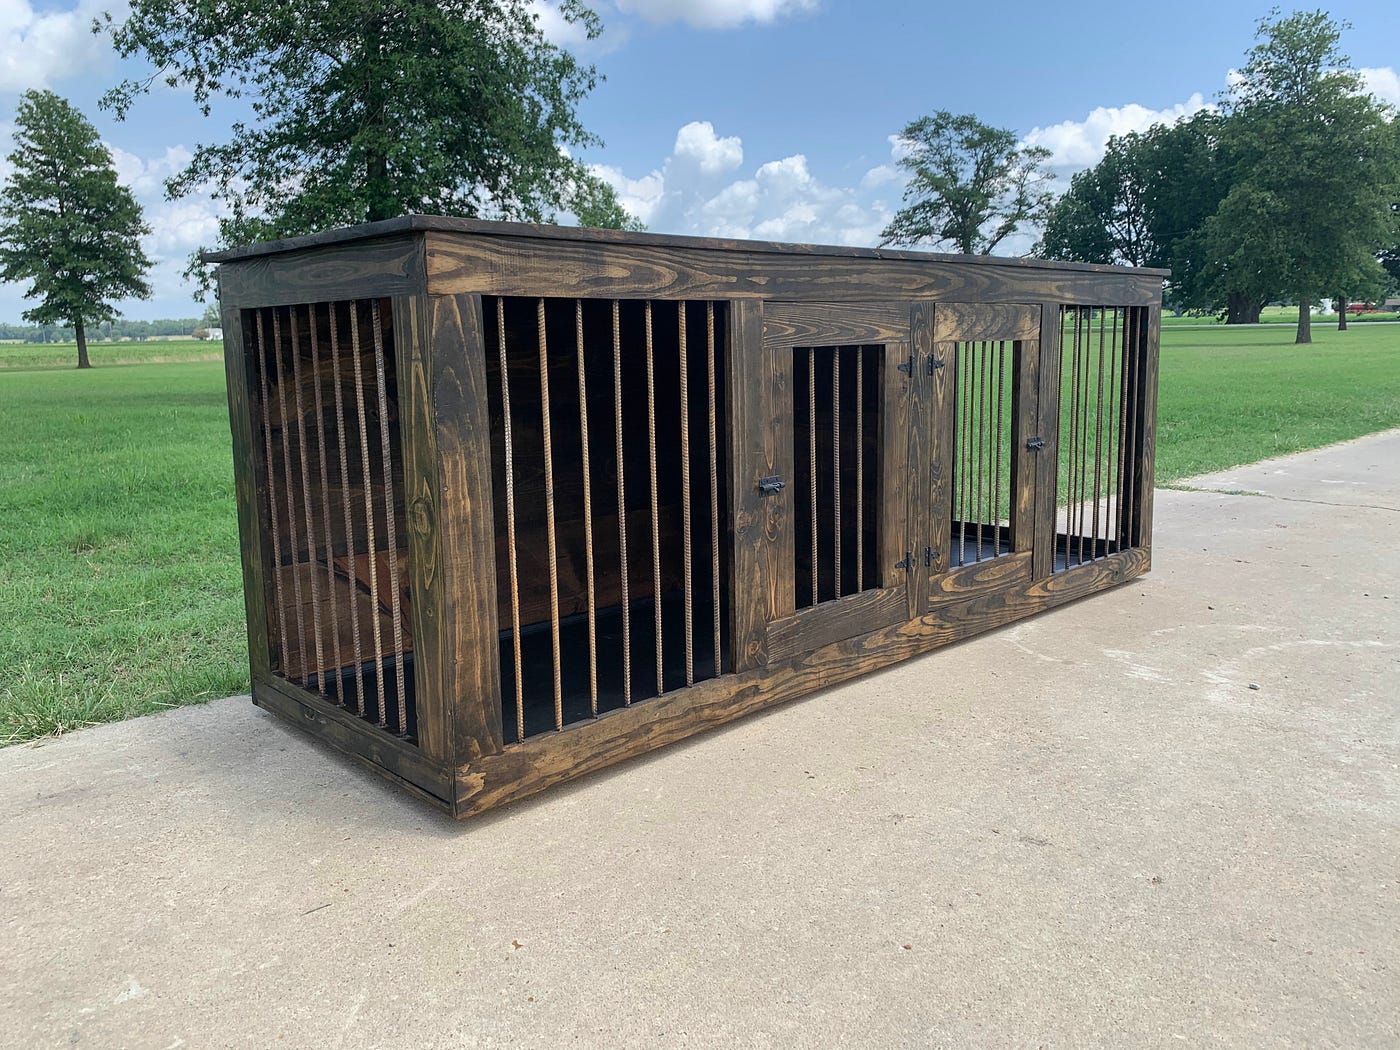
Credit: www.modernbuilds.com
Choosing The Right Wood
Choosing the right wood for your dog kennel is crucial. The wood you pick affects the kennel’s strength, safety, and how well it holds up outside. You want a material that lasts, keeps your dog comfortable, and stays safe over time.
Types Of Wood For Kennels
Some woods work better than others for building kennels. Common options include:
- Cedar:Naturally resistant to bugs and rot. It smells good and is gentle on your dog's skin.
- Pine:Affordable and easy to work with. However, it’s softer and may need extra treatment to last outdoors.
- Redwood:Durable and weather-resistant but tends to be pricier.
Think about what’s available near you and your budget. Have you checked local lumberyards for quality wood? Sometimes local woods handle your climate best.
Weather Resistance And Durability
Your dog’s kennel will face rain, sun, and possibly snow. You want wood that can handle these without warping or rotting quickly. Woods like cedar and redwood have natural oils that protect them, reducing the need for chemical treatments.
If you choose softer woods like pine, plan to seal or paint them to improve durability. Remember, a kennel that breaks down fast will cost you more time and money in repairs. What would happen if your kennel had to endure a harsh winter? Pick wood that meets those challenges head-on.
Safe And Non-toxic Materials
Your dog’s health comes first. Some woods and wood treatments can release harmful chemicals. Avoid wood treated with arsenic or heavy metals.
Look for untreated or naturally resistant woods and use pet-safe stains or sealants. Have you read labels carefully when buying wood or finishes? Your dog deserves materials that won’t cause allergies or poisoning.

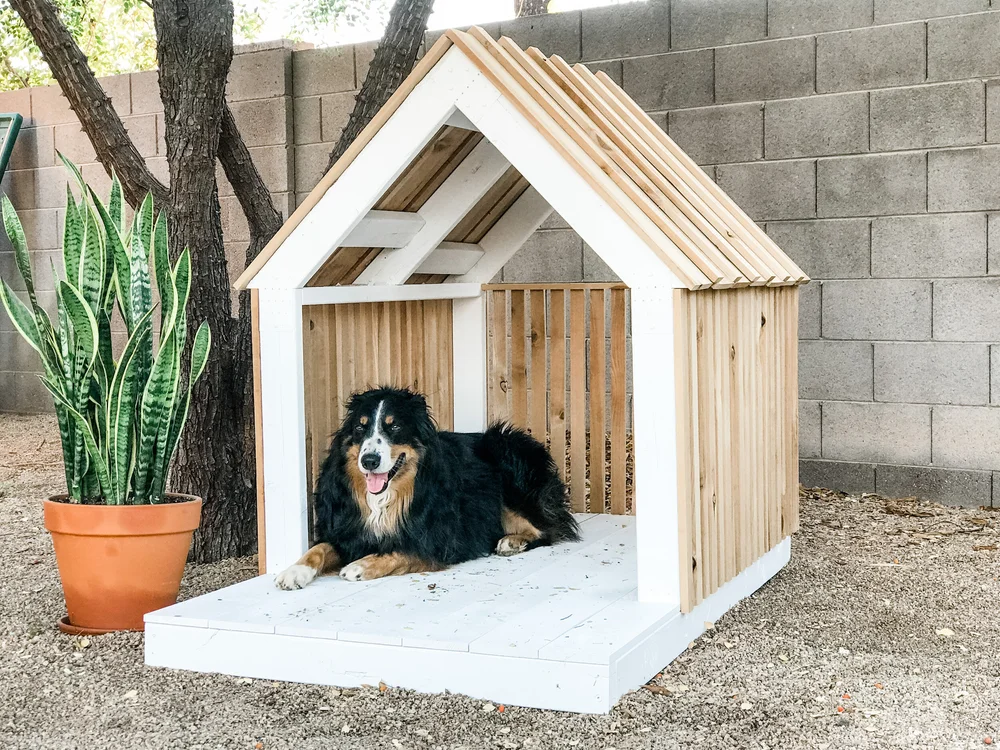
Credit: craft.camp
Planning The Kennel Design
Planning the design of a wooden dog kennel is key to building a strong and cozy shelter. Good planning saves time and materials. It ensures the kennel suits your dog's needs perfectly.
Consider the size, comfort features, and air flow before starting construction. A well-planned kennel keeps your dog safe and happy year-round.
Determining The Size
Measure your dog from nose to tail. Add extra space for movement and comfort. The kennel should be big enough for your dog to stand, turn, and lie down easily.
Think about your dog’s future growth too. Puppies grow fast, so plan a larger space if needed. A cramped kennel can cause stress and health issues.
Design Features For Comfort
Include a raised floor to keep your dog dry and clean. Add a roof that extends beyond the walls for shade and rain protection. A door flap or cover helps keep out wind and cold.
Use smooth wood to avoid splinters. Rounded edges improve safety. Add a cozy bed or cushion inside for warmth and softness.
Ventilation And Insulation
Good air flow prevents mold and odors. Place vents near the top and bottom of the walls for natural circulation. Avoid large gaps that allow drafts.
Insulate the kennel walls with foam or straw for warmth in winter. Use breathable materials to avoid trapping moisture. Proper ventilation and insulation keep your dog comfortable in all seasons.
Gathering Tools And Materials
Before you start building your wooden dog kennel, gathering the right tools and materials is crucial. Having everything ready saves you time and prevents frustration. It also ensures your project goes smoothly from start to finish.
Essential Tools List
- Measuring Tape:Accuracy matters when cutting wood. Don’t skip this.
- Circular Saw or Handsaw:Choose based on your comfort. A circular saw speeds up the process.
- Drill:You’ll need this to make pilot holes and to screw pieces together.
- Screwdriver:Helpful for tightening screws manually in tight spots.
- Hammer:Useful for nails and minor adjustments.
- Square:Keeps your cuts and joins perfectly aligned.
- Clamps:Hold pieces steady while you work.
- Pencil:Mark measurements clearly on the wood.
Imagine trying to cut wood without a proper saw or measuring tape—frustration mounts quickly. Having these tools on hand means you’re prepared for every step.
Necessary Hardware
- Wood Screws:Choose corrosion-resistant screws for outdoor durability.
- Nails:Use galvanized nails to prevent rusting.
- Hinges:Essential if your kennel will have a door or roof that opens.
- Latches or Locks:To secure doors safely.
- Wood Sealant or Paint:Protects the wood from weather damage.
- Wood Panels or Planks:Select sturdy, untreated lumber like cedar or pine.
Choosing the right hardware affects your kennel’s lifespan. Would you want your dog’s shelter to weaken after just a few seasons? I’ve seen kennels fall apart because the builder skipped quality screws.
Safety Equipment
- Safety Glasses:Protect your eyes from wood chips and dust.
- Gloves:Prevent splinters and improve grip.
- Hearing Protection:Useful if you’re using power tools for long periods.
- Dust Mask:Keeps you from inhaling sawdust.
Safety might seem like an extra step, but think about it: wouldn’t you rather take a moment to gear up than deal with an injury? I once ignored gloves and ended up with painful splinters that slowed my work for days.
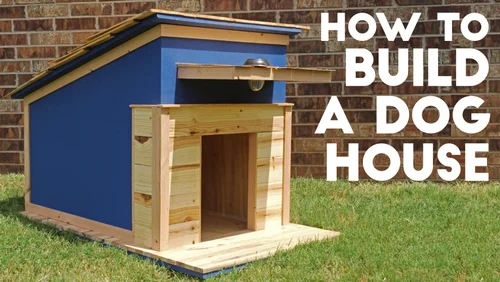
Credit: gagejohnson19.medium.com
Preparing The Wood
Preparing the wood is a crucial phase in building a sturdy and comfortable dog kennel. It sets the foundation for the entire project, ensuring safety and durability. Skipping or rushing this step can lead to a kennel that doesn’t last or, worse, harms your furry friend.
Measuring And Cutting
Start by measuring the wood pieces carefully according to your kennel design. Double-check every measurement before cutting to avoid wasting materials. Use a sharp saw and steady hands to ensure clean, straight cuts that fit perfectly together.
Have you ever tried assembling something only to realize a piece was just a bit too long or short? That frustration is avoidable with precise measuring and cutting. Mark your wood clearly with a pencil and cut slowly to maintain control.
Sanding And Smoothing
Once the pieces are cut, sanding is essential to remove splinters and rough edges. Use medium-grit sandpaper first, then finish with fine-grit for a smooth surface. Your dog will be safer, and the kennel will look more polished.
Don’t rush this step—imagine your dog brushing against rough wood daily. Smooth surfaces prevent injuries and make cleaning easier. Pay extra attention to corners and edges where splinters are common.
Treating The Wood
Wood treatment protects the kennel from weather damage and extends its life. Choose pet-safe sealants or stains that repel moisture and resist mold. Avoid harsh chemicals that could harm your dog’s health.
Applying multiple coats might seem tedious, but it’s worth the effort for lasting protection. Have you checked product labels to ensure they are non-toxic? Your dog’s safety depends on it.
Assembling The Frame
Assembling the frame is a crucial part of building a wooden dog kennel. It creates a strong structure that supports the entire kennel. This phase requires precision and the right tools. A solid frame ensures the kennel stays safe and stable for your dog.
Building The Base
Start by cutting the wood pieces for the base to the right size. Use treated lumber to prevent moisture damage. Lay the base on a flat surface. Connect the pieces with screws or nails to form a rectangle or square shape. Check that the base is level and sturdy before moving on.
Constructing Walls
Cut the wall frames to fit the base dimensions. Assemble each wall separately using wood planks or beams. Attach vertical supports evenly for extra strength. Secure the wall frames to the base with screws. Make sure the corners are square to keep the shape straight.
Adding The Roof Structure
Build the roof frame by cutting angled wood beams for a sloped design. Attach these beams securely to the top of the wall frames. This slope helps water drain off easily. Use cross beams for added support. Double-check all connections to ensure the roof is solid and safe.
Installing Doors And Windows
Installing doors and windows in your wooden dog kennel is more than just a finishing touch. These elements provide essential ventilation, natural light, and easy access. Getting them right can make your dog’s space comfortable and secure.
Choosing Door Type
Decide whether a swinging door or a sliding door suits your kennel best. A swinging door is simple to build and offers quick access, but a sliding door can save space if your area is tight.
Think about your dog’s size and behavior. If your dog is large or very active, a sturdy door with a secure latch is crucial to prevent escapes. You might even consider a half-door or a Dutch door, which allows you to open the top portion while keeping the bottom closed.
Adding Windows For Light
Windows bring in fresh air and natural light, which your dog will appreciate. Use clear, shatterproof acrylic or tempered glass to keep the kennel safe.
Position windows at your dog’s eye level so they can enjoy the view outside. Small, operable windows also help control airflow, especially during warmer months.
Have you thought about adding a window screen? It keeps bugs out while letting breeze in, improving your dog’s comfort.
Securing Openings
Security is vital for both doors and windows. Use weather-resistant locks or latches that your dog can’t tamper with but are easy for you to operate.
Reinforce window frames with metal mesh or bars if your dog tends to scratch or chew. This prevents damage and keeps your pet safe inside.
Don’t forget to seal gaps around doors and windows to block drafts and pests. A tight seal improves insulation and keeps your kennel cozy year-round.
Finishing Touches
Finishing touches turn your wooden dog kennel from a simple structure into a cozy, safe haven for your furry friend. These final steps not only enhance the appearance but also improve durability and comfort. Paying attention to details now saves you from future repairs and ensures your dog feels right at home.
Painting And Sealing
Choose a non-toxic, pet-safe paint to protect the wood from weather and wear. Painting the exterior adds a splash of color and prevents moisture from seeping in, which can cause rotting.
After painting, apply a clear sealant designed for outdoor wood. This extra layer locks in the paint and shields against rain, sun, and temperature changes. Have you checked if the paint is lead-free? Your dog's health depends on it.
Adding Bedding And Accessories
Comfort matters. Add soft bedding like foam pads or washable cushions to keep your dog warm and cozy inside the kennel.
Consider accessories like water bowls, chew toys, or a small blanket. These items make the space inviting and help your dog feel secure and entertained. What favorite item does your dog always carry around?
Ensuring Proper Drainage
Water pooling can ruin your kennel and create an unhealthy environment. Elevate the kennel slightly off the ground using bricks or treated wood blocks to keep the floor dry.
Make sure the floor has small gaps or use a slatted design to allow water to drain easily. Position the kennel in a spot where rainwater naturally flows away. How often do you check for water buildup after a storm?
Maintaining Your Wooden Kennel
Maintaining your wooden kennel keeps it safe and comfortable for your dog. Wood can wear down over time. Dirt, moisture, and weather affect its strength and look. Proper care extends the kennel’s life and keeps your dog happy inside.
Regular Cleaning Tips
Clean the kennel often to remove dirt and debris. Sweep or vacuum the floor and corners. Wash surfaces with mild soap and water. Rinse well to avoid soap buildup. Dry the wood with a cloth to stop mold growth. Clean bedding and toys inside the kennel regularly.
Wood Care And Repairs
Check the wood for cracks, splinters, or soft spots. Sand rough areas to prevent injuries. Fill small cracks with wood filler. Replace damaged boards quickly to keep the structure strong. Apply a pet-safe wood sealant or paint every year. This protects the wood from water and bugs.
Seasonal Maintenance
Inspect the kennel before each season starts. Clear away leaves and snow around the base. Ensure proper drainage to avoid water damage. In winter, add extra bedding for warmth. In summer, provide shade and ventilation. Adjust care routines based on weather changes.
Frequently Asked Questions
How Much Wood Is Needed For A Dog Kennel?
The amount of wood depends on your kennel size. Typically, 6 to 10 plywood sheets and 2x4 lumber for framing are required. Measure your kennel dimensions carefully before buying materials to avoid waste and extra cost.
What Tools Are Required To Build A Wooden Dog Kennel?
You need a saw, drill, hammer, measuring tape, screwdriver, and nails or screws. A level and square help ensure accuracy. Safety gear like gloves and goggles is also important during construction.
How To Make A Wooden Dog Kennel Weatherproof?
Use treated wood or apply waterproof sealant to protect against moisture. Add a sloped roof for rain runoff. Ensure proper ventilation but keep the interior dry to maintain comfort and durability.
What Is The Best Size For A Dog Kennel?
Size depends on your dog’s breed and size. The kennel should be large enough for your dog to stand, turn, and lie comfortably. Measure your dog’s height and length for accurate sizing.
Conclusion
Building a dog kennel out of wood is fulfilling and practical. You create a cozy, safe space for your furry friend. Follow the steps carefully for best results. Measure, cut, and assemble with precision. Choose durable wood for long-lasting use.
Secure the kennel and provide comfort inside. Add bedding and ensure proper ventilation. Regular maintenance keeps the kennel in good shape. Your dog deserves a sturdy, comfortable home. Enjoy the satisfaction of a job well done. A wooden kennel is a great project for pet owners.
Your effort ensures a happy, secure place for your dog.